 Guides Guides
Warping your Mini Card / Tablet Loom
If you have come to this page from anywhere but page one please see Page 1
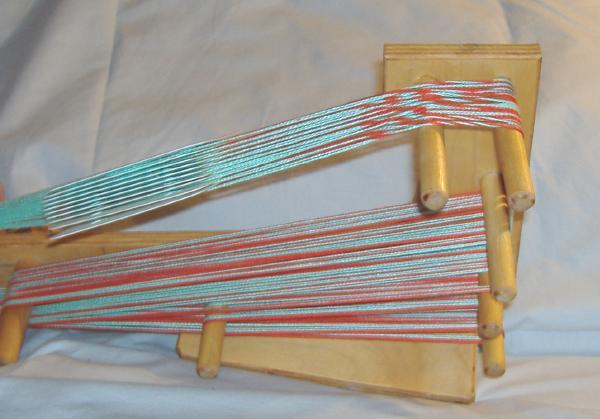
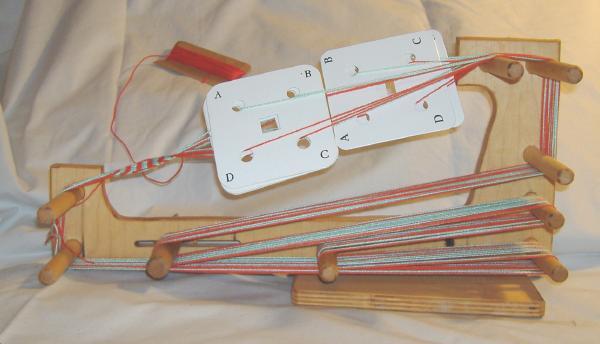
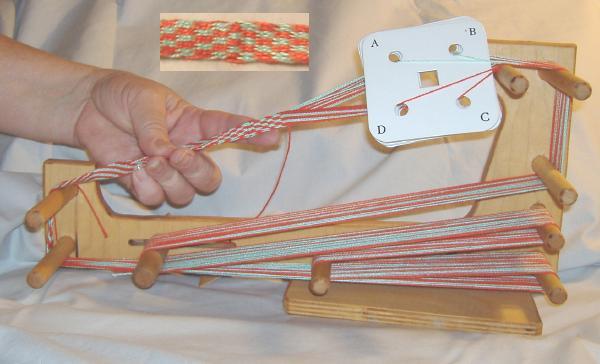
We have repeated the last two steps from page one just as a reminder.
Start wrapping your shuttle with your weft thread, it can be
either of the colors that were
used during the warping process.
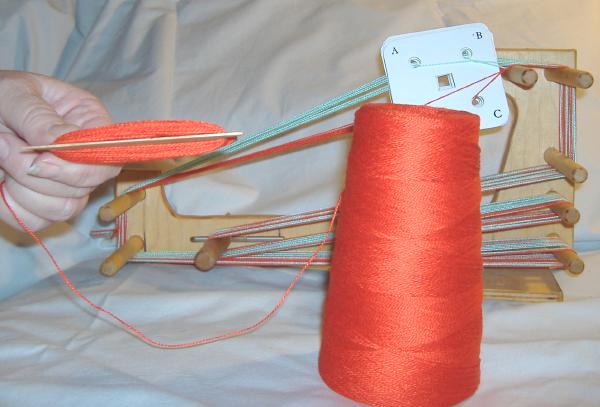
It is hard to guess the exact amount of thread required on
the shuttle. A little extra will not
hurt but you can always add if you come up short. The amount shown above
is more than
enough to finish this project.
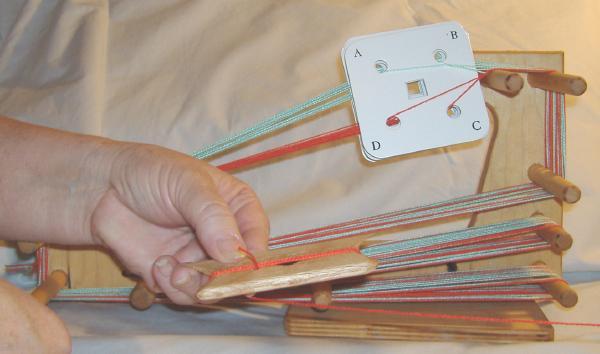
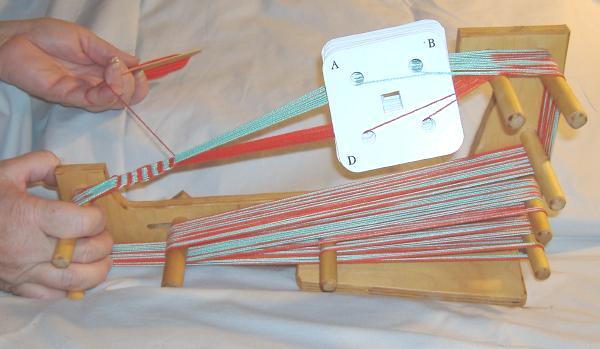
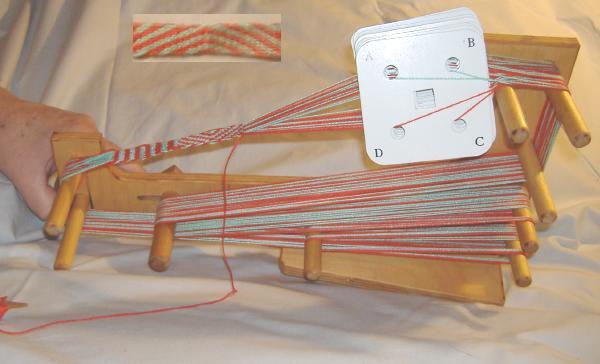
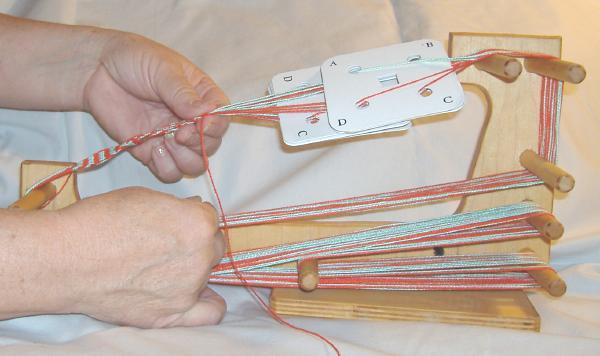
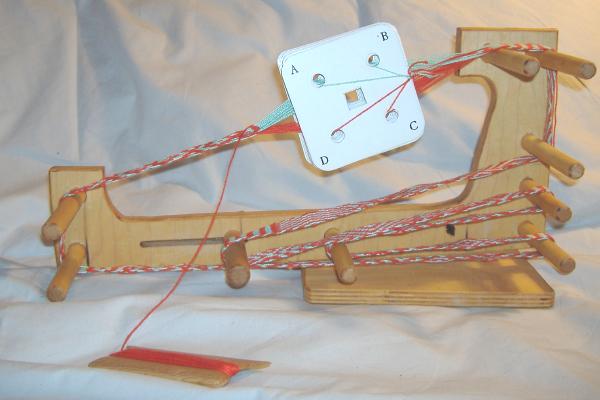
To start weaving on your loom pass the shuttle through the shed from right to
left, leaving
about a four inch tail.
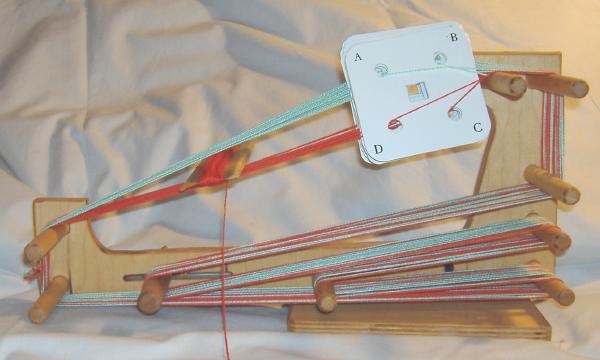
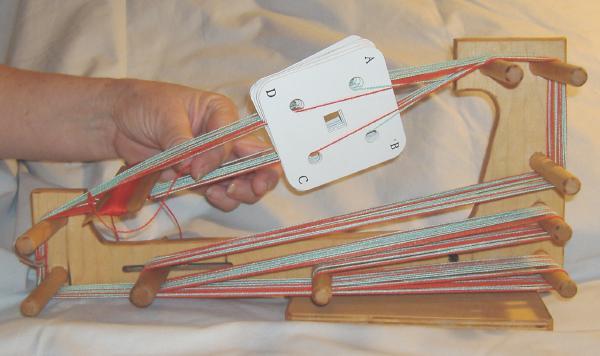
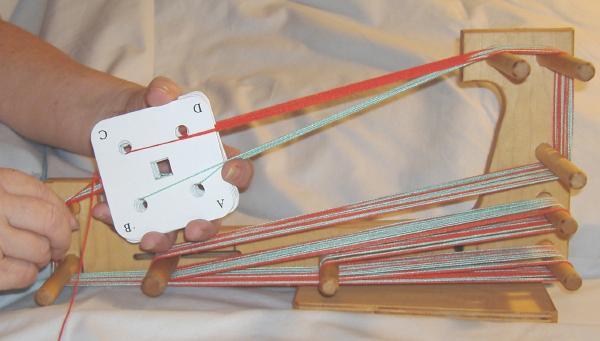
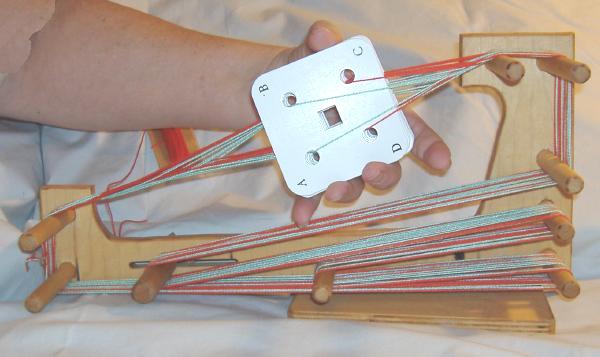
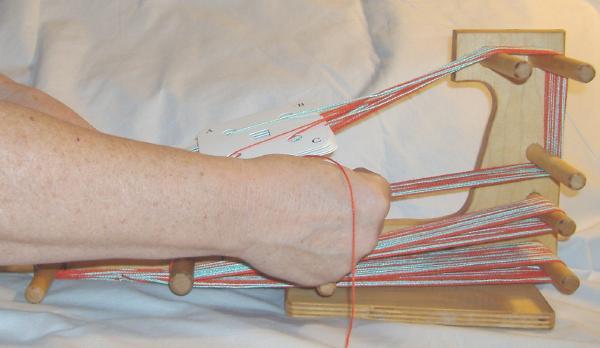
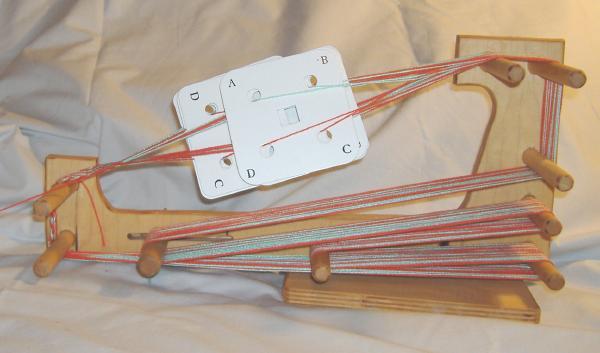
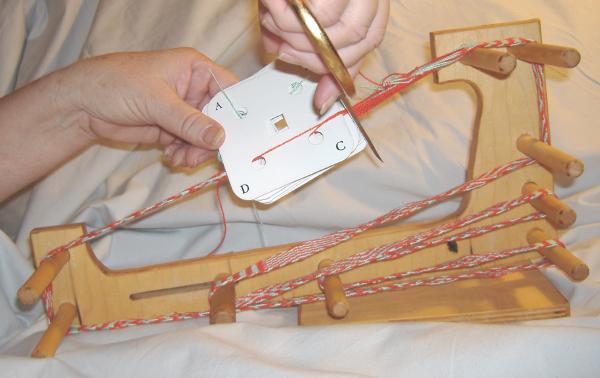
Grip all cards with one hand and begin your 1/4 turn of the cards rotating away from yourself.

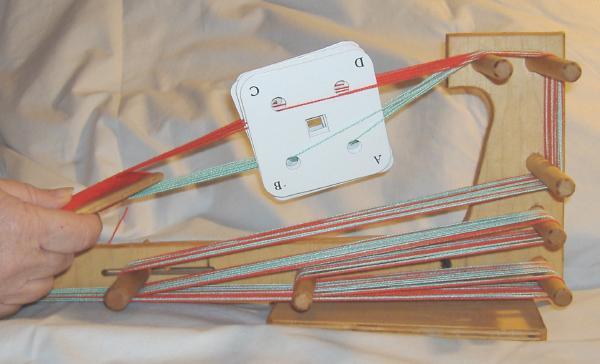
This is half way through the 1/4 turn rotation so you can see the movement.
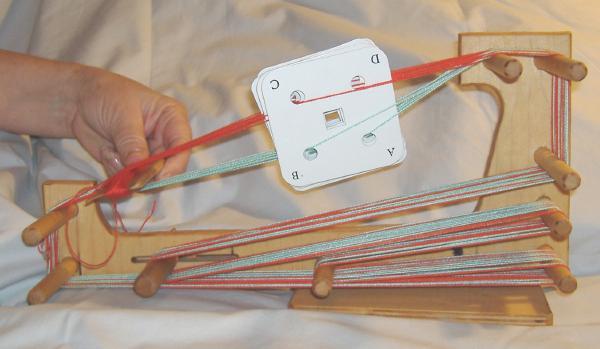
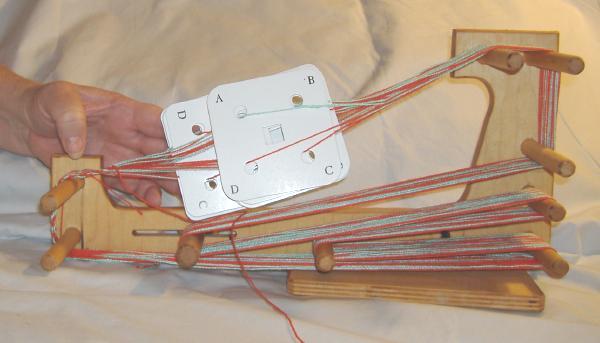
This is the completion of the rotation. In the photo you can see that the
warp threads to
the left of your cards seem to be jumbled. The next step
will clear the threads.
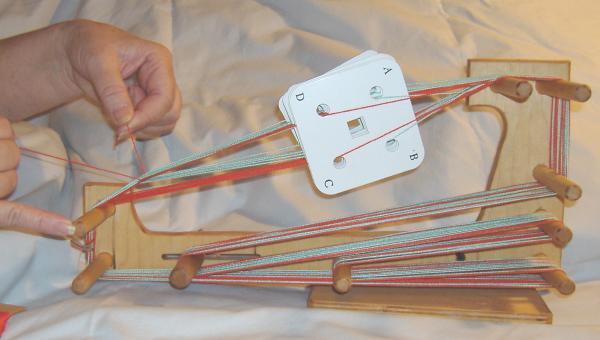
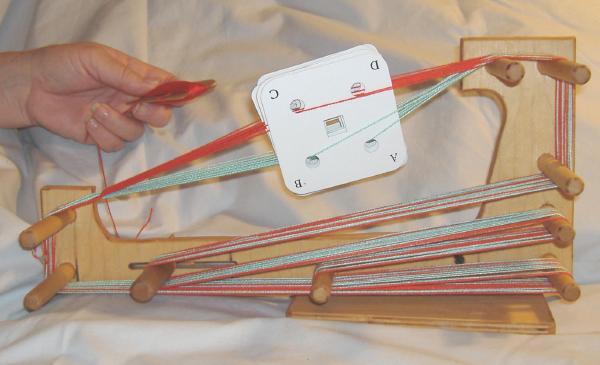
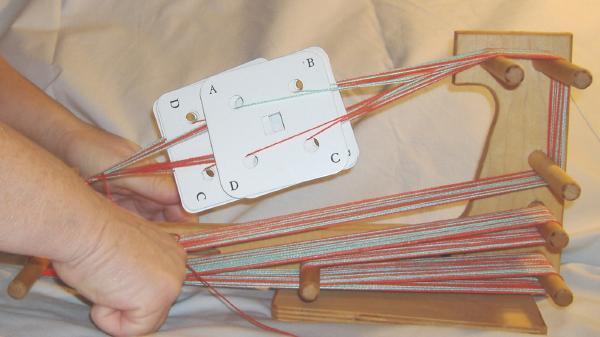
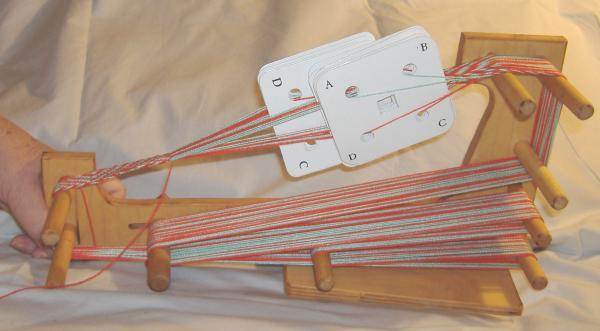
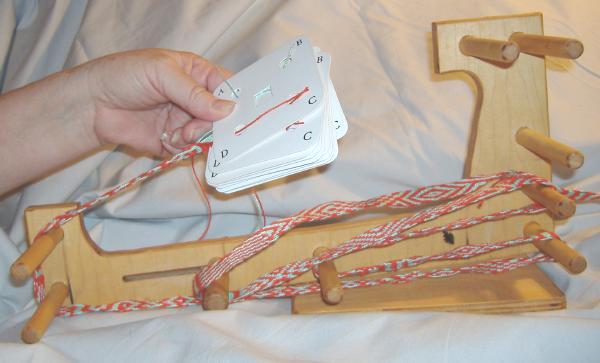
Slide the entire book of cards toward yourself.
Then away from yourself and this will clear your shed for your next shuttle pass.
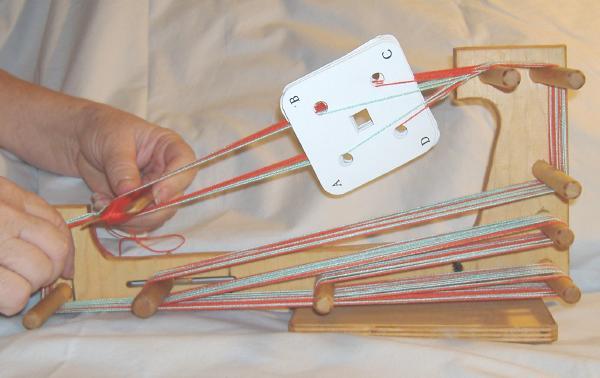
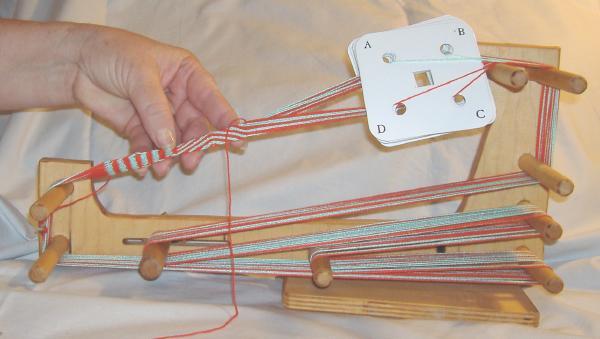
Bring your shuttle back through the shed from left to right, leaving the shuttle rest in the shed.
With the shuttle resting in the shed, take the tail through the shed from right to left.
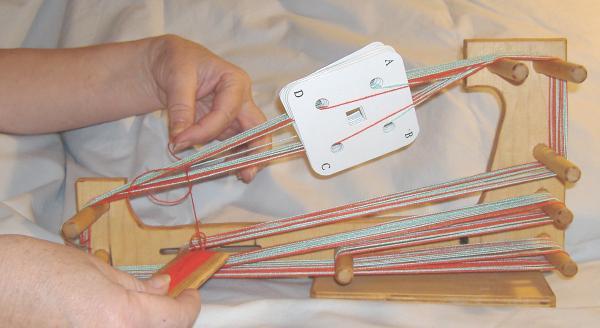
Bring your shuttle on through the shed and holding the shuttle in your right
hand and the
tail in your left hand pull gently but firmly on both to close up
your weave.
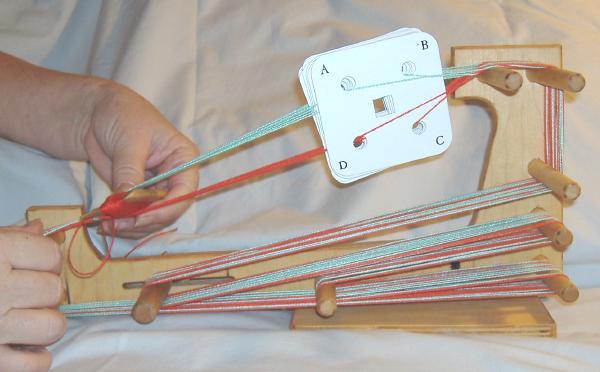
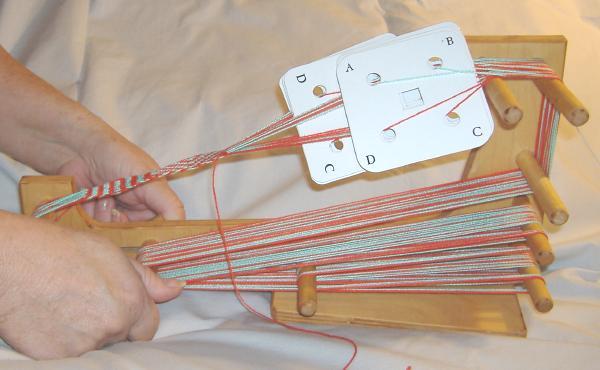
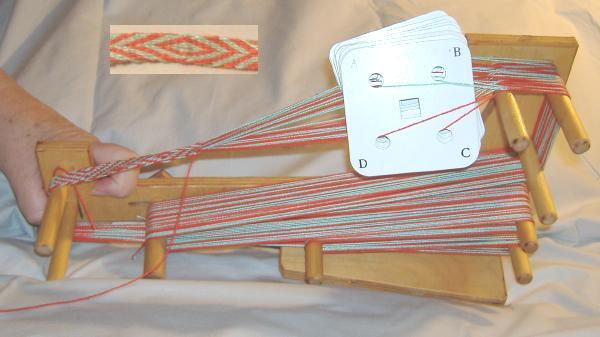
You will notice when you close up your weave, that all of your threads were not
captured
in the first two passes of your shuttle. This is normal, all
threads will not be captured until
the fourth pass of your shuttle.
Once again rotate your book of cards 1/4 turn away from yourself.
Pull the cards towards yourself to clear the shed. Then push them forward
again for
weaving room.
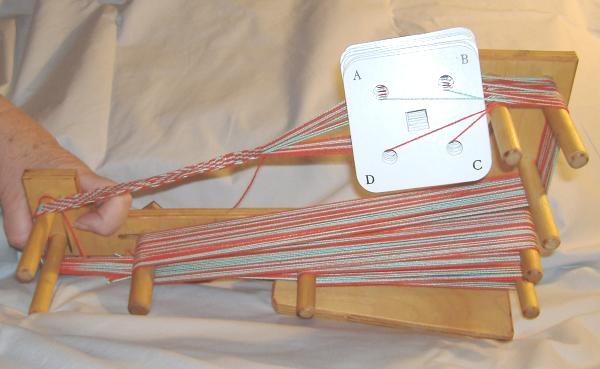
Place the shuttle into the shed and beat your previous stitches down to an even
line.
Over time you will get a feel for how much pressure to apply.
After beating the stitch continue through the shed right to left with your shuttle.
Be sure to pull your weft thread snug after each shuttle pass.
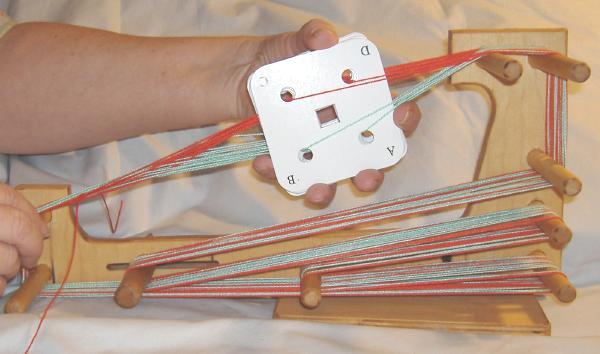
Rotate your cards another 1/4 turn away from yourself. Once again you can
see the shed
after turning the cards needs to be cleared by sliding the
cards towards yourself then away.
Pass the shuttle from left to right, then rotate your cards another 1/4 turn away from yourself.
This is the completion of the first full rotation of your cards, and they are
resting in the
original position. Continue doing the 1/4 turn rotations
for 2 more complete rounds
away from yourself.
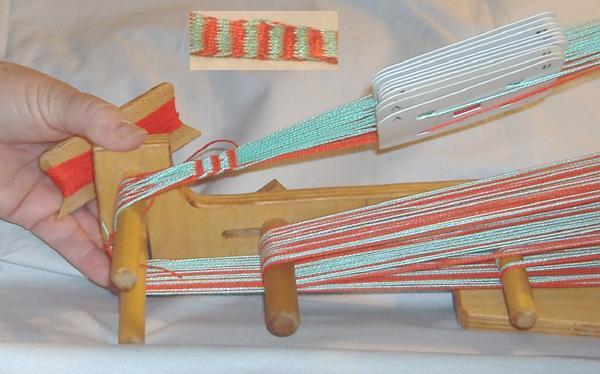
This is how your weaving should appear after 3 full rotations. Each full
rotation brings the
bottom color to the top.
At the top of your loom you will notice some twisting to your warp threads.
This is normal,
the easiest way to deal with this twisting is to reverse your
card rotation for the next 3
rotations. If you continue to rotate away
from yourself you will have to push the twist down
around the pegs to keep your
weaving area clear.
After reversing your weave for 3 full rotations you will notice that the twist
at the top of
your loom has been removed. In some patterns you will not be
able to remove the twist
by reversing.
Now that you understand the loom and the threads, we can move on to making some
different patterns. We will be using the loom as it is now set up to show
the versatility of
card weaving.
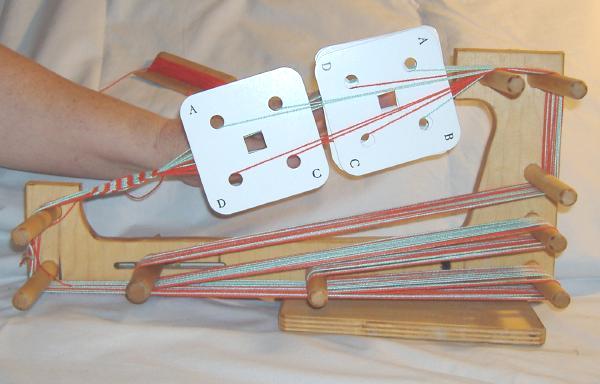
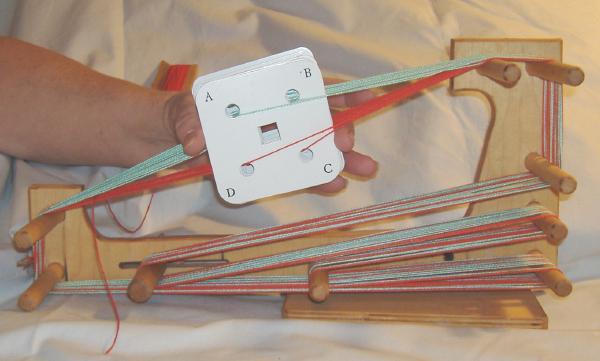
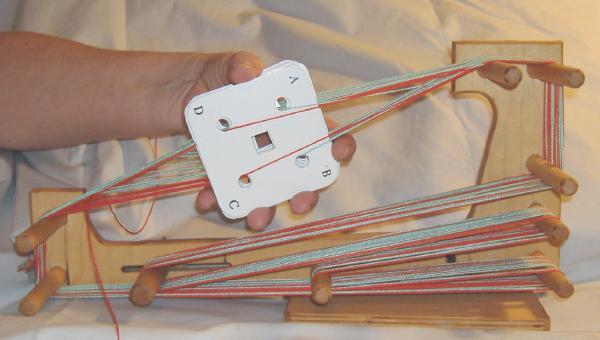
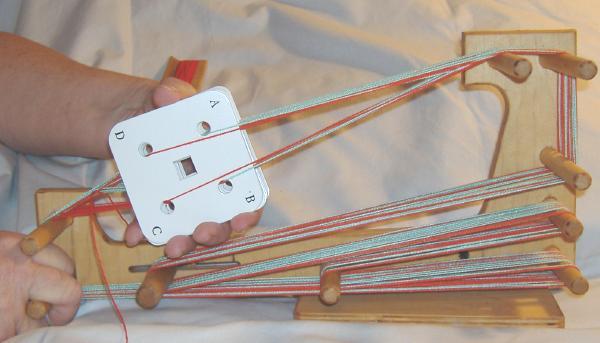
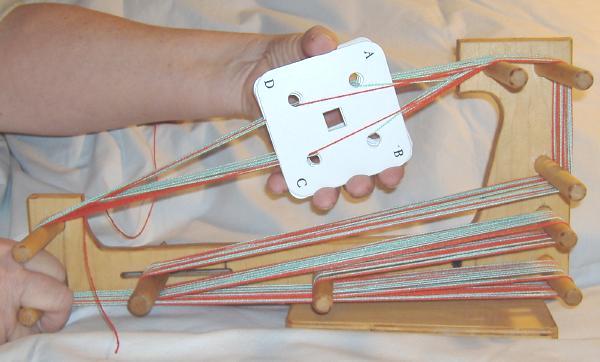
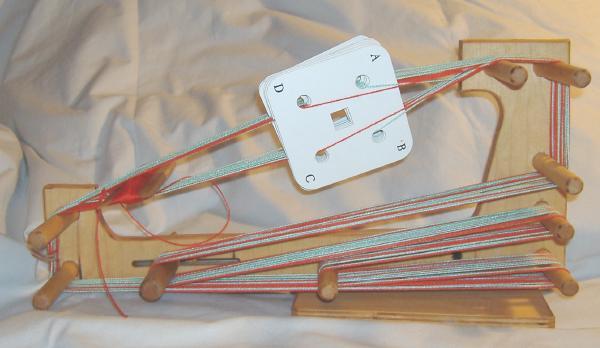
For the first pattern change: working the cards from right to left, leave
the first card as
shown. Here we rotated only the second card 1/4 turn so
that D is in the upper left corner,
then slide it behind the first card making a
new book.
The third card rotates a full 1/2 turn so that C is in the upper left corner as
shown then
slide it into place in the new book.
For the fourth card you can turn it 1/4 turn towards yourself so that B is in
the upper left
corner. Then slide it into place in the new book.
Continue rotating the cards one at a time
until your upper left corner reads: ADCBADCBAD
Weave as shown before for 3 full rotations away and 3 full rotations towards yourself.
Examine both the top and the bottom of your weave. We are weaving in a
single faced
style, which means that your weave will have a top and bottom that
are slightly different
in appearance. One side will look smooth and have
even looking edges to the pattern
and the other side will appear somewhat
choppy, you will still be able to see the pattern
clearly it will just look
different.
Before you can weave any further we need to advance the warp. Holding the
tension
peg with one hand loosen the nut with the other and push the peg away
from yourself, to
create slack in your warp threads.
Gripping the woven area with your left hand and the next set of threads down
with your
right hand, pull gently with your left while pushing away with your
right.
This motion will bring the woven area down around the bottom of the front pegs
and provide
fresh warp threads for weaving.
Do not take the woven area beyond the front top peg as this will create a gap in
your
weaving. Leave about 1/2 inch beyond the loom frame.
Once again loosen the nut on the tension peg and pull the peg and nut gently but
firmly
towards yourself. Be sure to check to make sure that none of your
warp threads have
gotten between the peg and your loom, that they are all riding
on the tension peg itself.
Tighten the nut and you are ready to start
weaving.
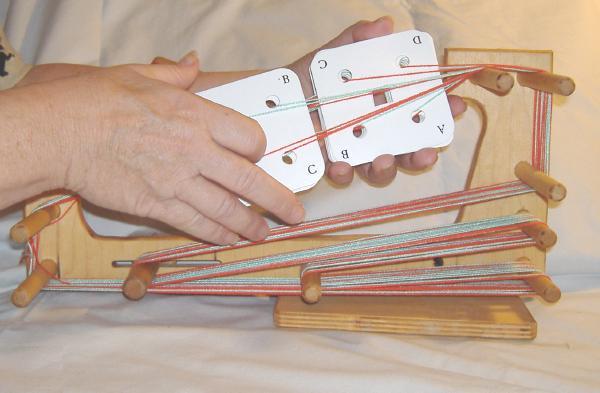
For your next pattern change: slightly separate the five cards on the
right from the five
cards on the left, without changing the sequence of the
cards.
Weave as shown before except this time you will be turning the cards as though
they are
two separate books. Turn the book on your left towards yourself
and the book on the right
away from yourself, for 3 full rotations.
Then reverse for 3 full rotations, left book away and right book towards yourself.
For your next pattern change: the cards will be one book again, your upper
left corner
should read: AACCAACCAA
Weave as shown before for 3 full rotations away and 3 full rotations towards yourself.
Continue weaving and advancing, practicing the different patterns as shown until
you
have reached the point where you can no longer turn the cards or fit your
shuttle through
the shed.
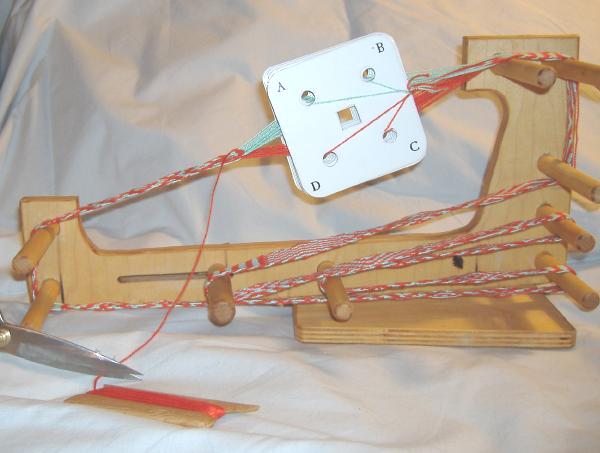
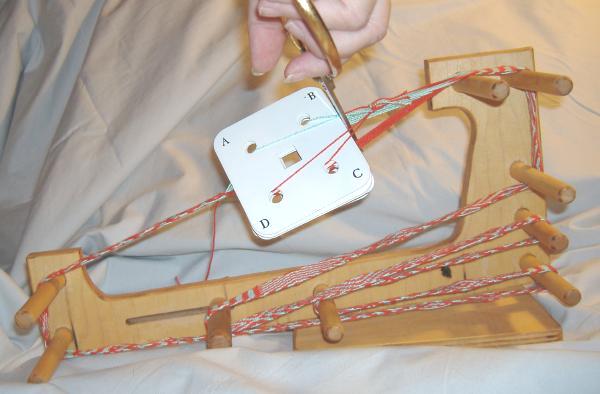
Cut your weft thread about 4 inches from your warp threads, tie this tail to the
outside
warp thread.
Pull your cards down toward your weaving, cut the warp on the high side of the
cards.
This will leave you loose threads at either end of your weaving to use as fringe.
Cut the upper threads then the bottom threads.
You can now remove your book of cards Save cards for future use.

Remove your weaving from the loom, you have just completed your first card
weaving
project. You can trim your fringe or leave it long.
Have a question? feel free to e-mail us for a little extra help.
See what's available at this time.
Copyright Gary
Palmer
All rights reserved.